Why Dust Control Deserves Serious Attention
Renovation dust is more than an inconvenience. Fine particles from drywall cutting, sanding, concrete grinding, or demolishing older materials can linger in the air long after tools are set down - and can settle into HVAC systems, electronics, bedding, and food preparation surfaces throughout your home.
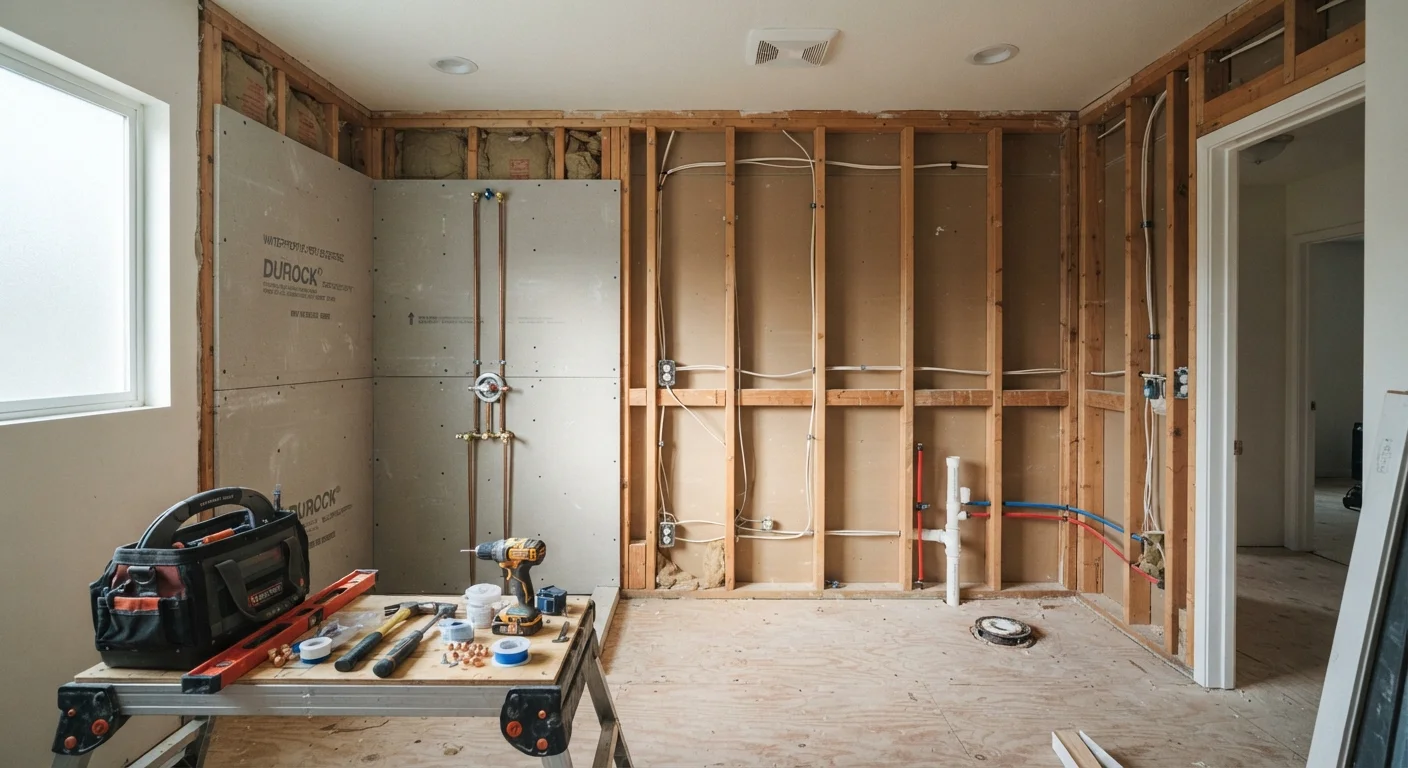
Certain renovation tasks carry additional concerns. Older homes may contain lead-based paint or asbestos in materials like floor tiles, pipe insulation, or textured ceiling coatings. Disturbing these materials without proper precautions can create serious hazards. If your home was built before 1980 and you're planning significant demolition, have the area tested by a certified inspector before work begins. For projects involving structural wall removal, professional involvement is often required anyway - which also ensures hazardous material protocols are followed.
Know What's In Your Walls Before You Demo
Homes built before 1980 may contain lead paint or asbestos in insulation, floor tiles, or ceiling textures. Disturbing these materials without proper identification and precautions is a regulated activity in many jurisdictions. Contact a certified inspector or your local health department before beginning demolition in older homes. Do not rely on visual inspection alone to identify these materials.
Even standard drywall dust, silica from concrete, and wood dust can irritate the respiratory system with repeated exposure. Workers and household occupants spending extended time near active renovation zones should use appropriate respiratory protection.
Core Practices for Containing Dust and Debris
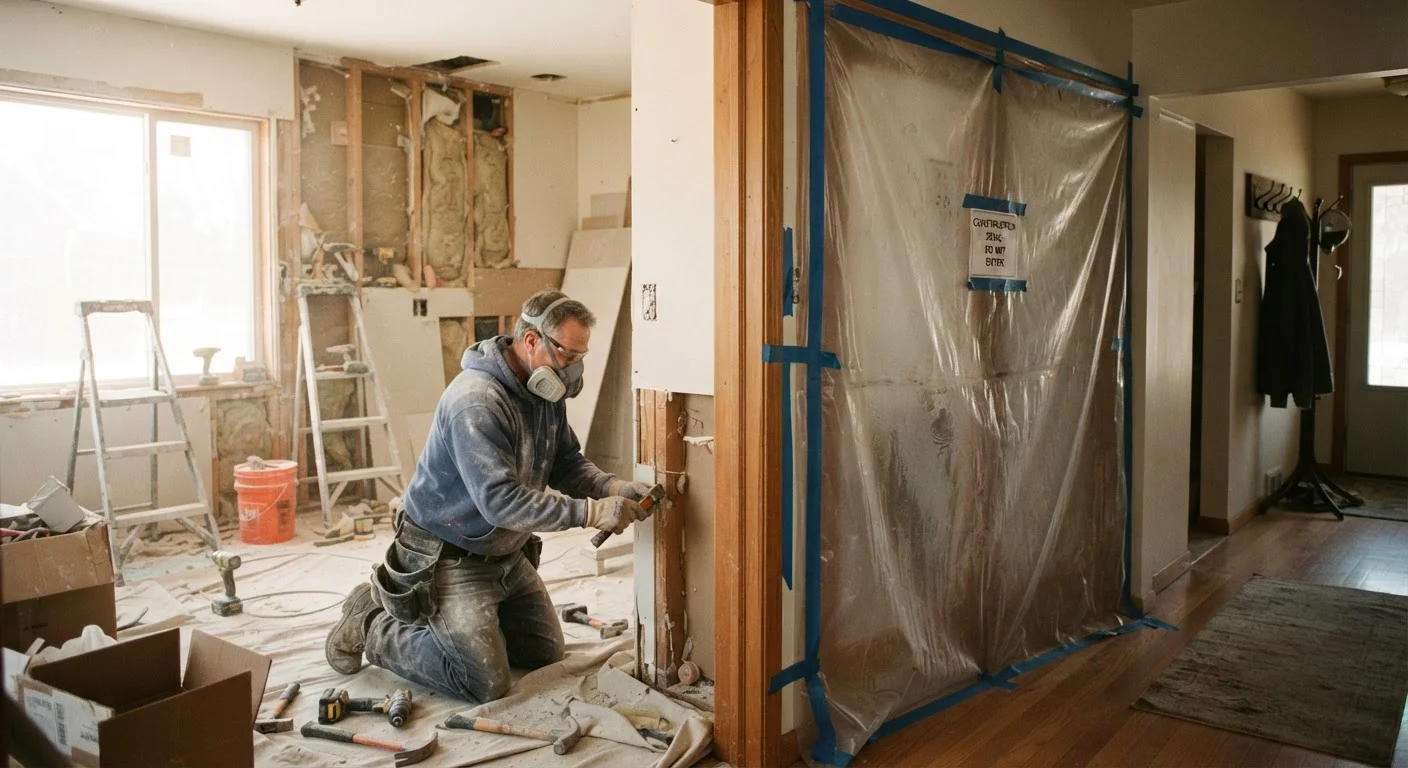
Seal off the work zone with heavy-duty plastic sheeting before any demolition or sanding begins.
An uncontained work area allows dust to migrate freely into adjacent rooms within minutes. Sealing doorways, windows, and any gaps creates a physical barrier that dramatically limits spread. Zip-wall systems or pre-taped poly sheeting with zipper entries make it practical to maintain access without compromising the barrier.
Use a negative air pressure machine or air scrubber for dusty, extended projects.
These units draw air from the sealed work zone and exhaust it outside or through HEPA filtration, keeping airborne particle levels lower throughout the day. They're especially useful for drywall work, concrete cutting, or any project lasting more than a day or two. Many tool rental centers carry them.
Cut materials outside or use dustless cutting methods whenever possible.
Cutting drywall, concrete board, or tile indoors generates concentrated bursts of fine dust that can take hours to settle. Moving cuts outside, or using tools with integrated vacuum attachments, removes the largest source of airborne particles at the point of generation.
Protect soft furnishings and belongings in adjacent rooms with covers or by relocating them.
Upholstered furniture, bedding, clothing, and electronics are difficult to clean thoroughly once fine particles work into them. Covering them with drop cloths or plastic sheeting - or moving them to a distant part of the house - prevents contamination that would otherwise require professional cleaning.
Establish a dust control routine at the end of each workday, not just at project completion.
Allowing dust to accumulate over days compounds the problem - particles settle into surfaces and crevices, and foot traffic reintroduces them into the air. A brief daily cleanup with a HEPA vacuum keeps conditions manageable and reduces the scale of the final cleanup.
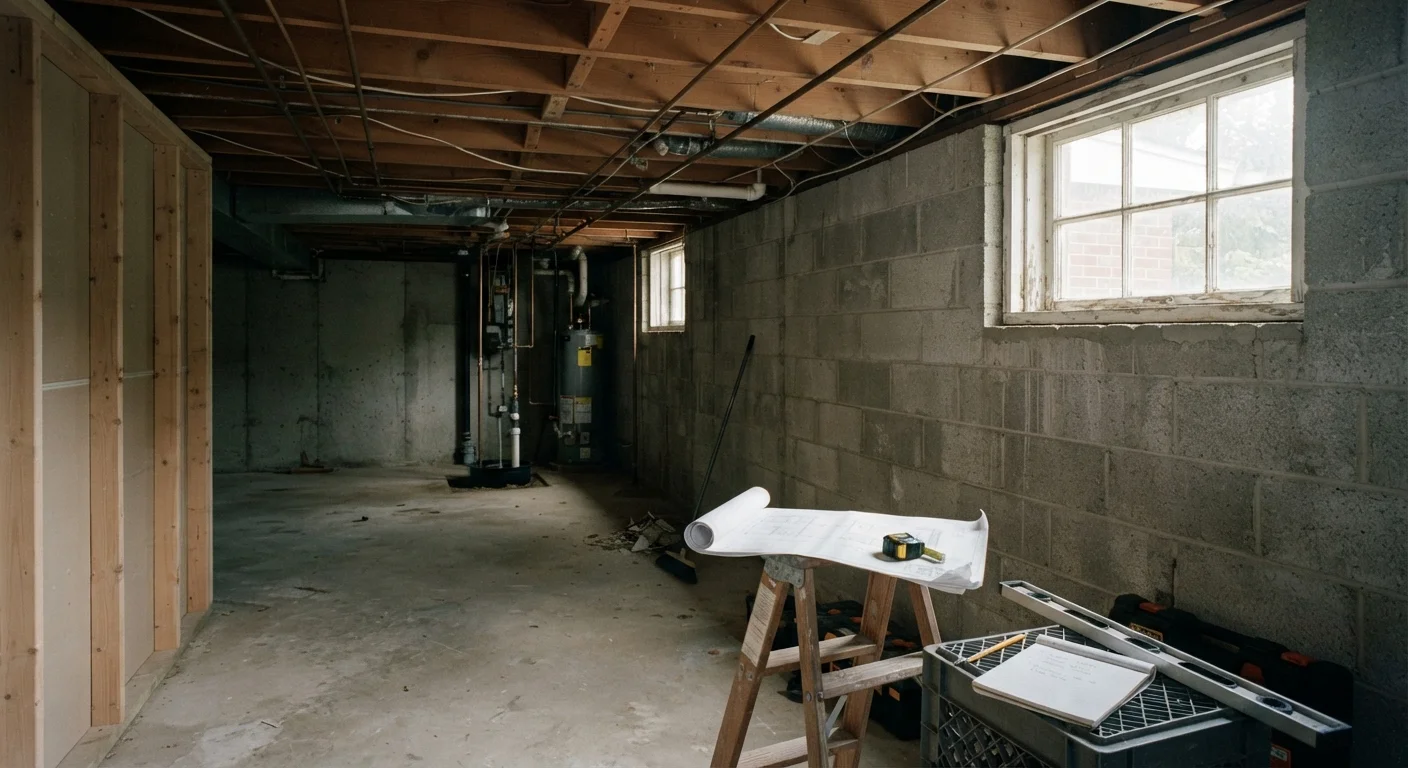
Applying these measures consistently - rather than selectively - is what separates a manageable renovation from one that leaves dust in every corner of the house. Projects like a kitchen remodel or basement finish benefit especially from early, thorough containment planning.
Protecting Your HVAC System
Your heating and cooling system is one of the most overlooked pathways for renovation dust. When the system runs, it draws air from the work zone through return vents and distributes it - along with any suspended particles - to every room in the house.
Before demolition or sanding begins, seal all supply and return vents in the work area using plastic sheeting and painter's tape. Turn the system to fan-off mode if possible, rather than allowing it to cycle automatically. After work wraps up, replace HVAC filters before running the system again - and consider having ducts inspected if the project was extensive. This aligns with the kind of routine maintenance outlined in a seasonal home systems checklist.
Cleaning Up After the Work Is Done
Post-renovation cleaning requires a methodical approach. Sweeping and vacuuming with a standard household vacuum can actually redistribute fine particles rather than capture them - look for a vacuum equipped with a HEPA (High-Efficiency Particulate Air) filter, which traps particles as small as 0.3 microns.
Work from top to bottom: dust ceiling fans, light fixtures, and shelving before moving to countertops and then floors. Wipe hard surfaces with a damp cloth rather than a dry one. For large projects - such as open-plan conversions involving wall removal - multiple cleaning passes over several days may be needed as settled particles become disturbed again.
Allow fresh air circulation where possible, and replace HVAC filters a second time about two weeks after the project is complete to catch any residual particles that worked through the system.