Why a Pre-Trip Walkthrough Matters
Most vehicle breakdowns on long drives aren't random - they're the result of conditions that existed before the car left the driveway. A slow tire leak, low brake fluid, or a cracked wiper blade rarely announce themselves until the worst possible moment. Running a structured check before every significant drive gives you a realistic picture of where your vehicle actually stands.
This walkthrough is designed for everyday drivers, not mechanics. None of the checks below require special tools beyond a tire pressure gauge, and most take only seconds. For a broader view of what keeps a vehicle healthy over the long haul, see our complete car maintenance overview.
If your dashboard is showing any warning lights when you start this process, address those first. Our guide to decoding dashboard warning lights explains what each symbol means and how urgently to act.
Tires
Fluids
Lights and Visibility
Under the Hood
Emergency and Safety Gear
What to Have on Hand
You don't need a full toolkit to complete this walkthrough, but a few basic items make the process faster and more accurate. Keep these in your vehicle or gather them before you start.
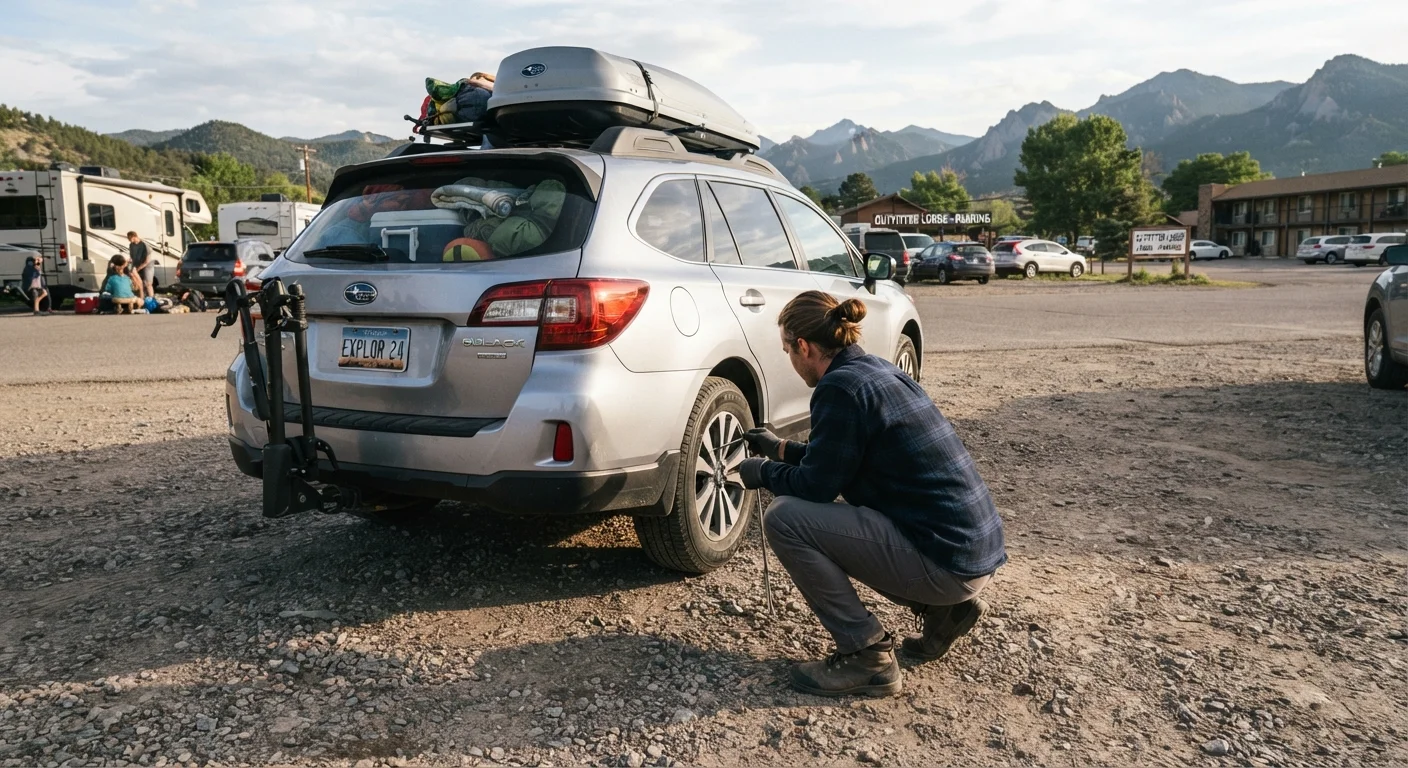
Tire Pressure Gauge
Used to measure PSI in each tire and the spare against the door-jamb specification.
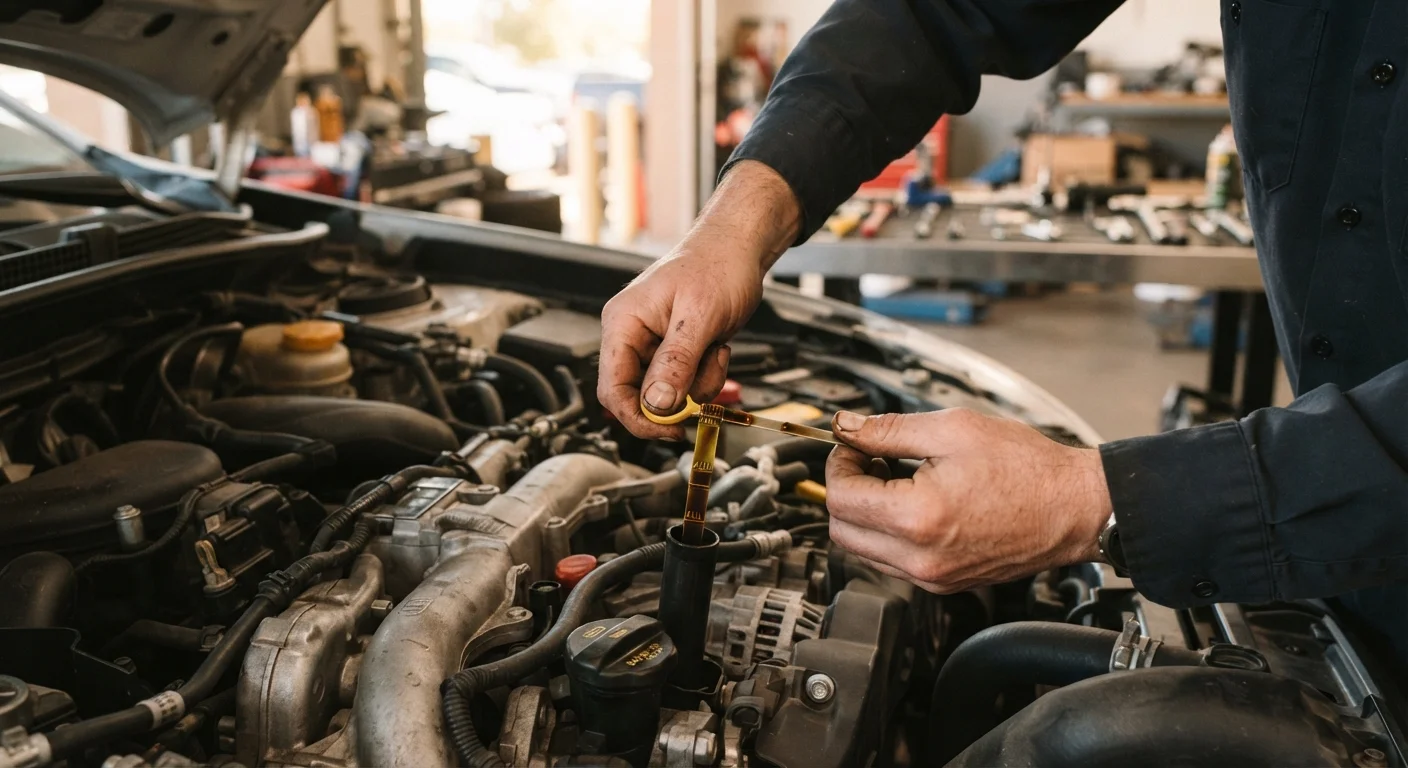
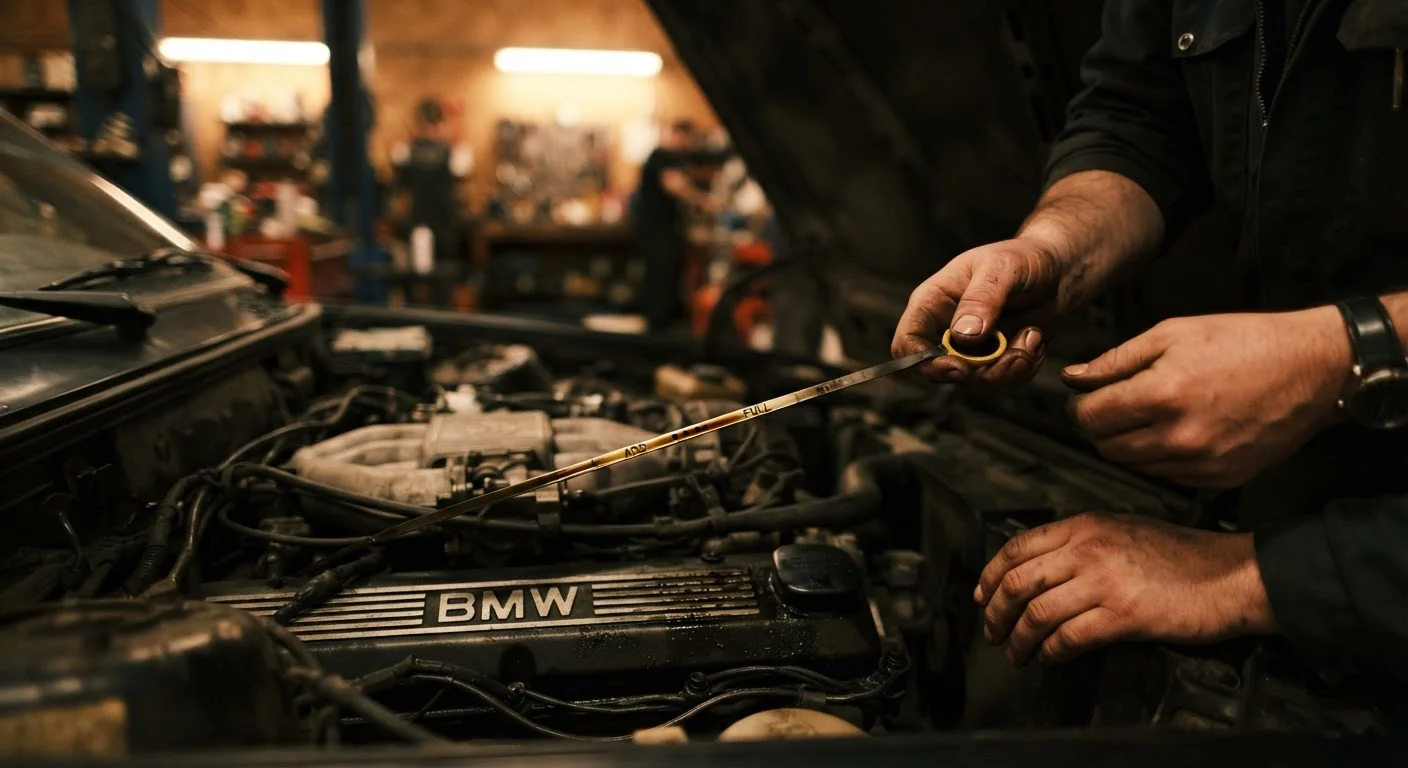
Engine Dipstick (built-in)
Used to check oil level when the engine is cold; location is shown in your owner's manual.
Owner's Manual
Provides the correct tire PSI, oil grade, and fluid specifications for your specific vehicle.
Flashlight or Work Light
Helps you inspect under the hood and beneath the vehicle in low-light conditions.
Microfiber Cloth
Used to clean mirrors, the windshield, and camera lenses for clear visibility.
Once you've confirmed your vehicle is road-ready, it's also worth making sure your financial preparations match. Our pre-trip budget checklist helps you confirm payment methods, fuel estimates, and daily spending limits before you leave.
Never Check Coolant on a Hot Engine
Opening the radiator cap or coolant reservoir cap immediately after driving can release pressurized steam and cause serious burns. Always let the engine cool for at least 30 minutes before inspecting coolant levels. If your temperature gauge is in the red or your dashboard shows a coolant warning, pull over safely and do not open the hood until the vehicle has fully cooled.
Low Brake Fluid Needs Professional Attention
A brake fluid level that has dropped noticeably below its previous level is not simply a top-off situation. It often indicates worn brake pads or a developing leak in the system. Adding fluid without understanding the cause can mask a safety problem. Have a qualified mechanic inspect the brake system before undertaking a long drive if fluid appears significantly low.
After the Walkthrough: What to Do If Something's Off
Finding an issue during your pre-trip check is a success, not a setback - it's exactly what this process is designed to do. Minor concerns like low washer fluid or a dim bulb are quick fixes. More significant findings - brake noise, an illuminated check engine light, or a tire with visible sidewall damage - should be evaluated by a qualified mechanic before you travel.
Don't attempt to diagnose or repair brake components yourself. Our resource on keeping your brakes healthy outlines what warning signs to watch for and when professional inspection is warranted.
Do Not Drive With Unresolved Safety Warnings
A check engine light, brake warning light, or TPMS (Tire Pressure Monitoring System) alert that appears during your walkthrough should be diagnosed before departure - not monitored while driving. Some warnings indicate minor issues; others signal conditions that can lead to loss of vehicle control at highway speeds. When in doubt, consult a qualified mechanic rather than making assumptions about severity.
Finally, verify that your auto insurance documentation is current and accessible - either in the glove box or on your phone. For a general overview of what coverage to confirm before a long drive, visit our car insurance guidance hub.
This article provides general vehicle preparation information for educational purposes. It is not a substitute for professional mechanical inspection. Always consult a qualified mechanic for any concern about your vehicle's safety or roadworthiness.