
Why Structured Destination Research Matters
Most trip regrets trace back not to what happened at the destination, but to what a traveler didn't know before they booked. Choosing a destination based on a single photo or a friend's recommendation - without checking visa rules, seasonal conditions, or realistic costs - sets up avoidable disappointment.
Structured research changes that. Rather than chasing inspiration reactively, it gives you a repeatable framework for evaluating any destination across the dimensions that actually shape a trip: safety, access, cost, climate, culture, and logistics. If you're new to building this kind of process, our beginner's guide to destination research covers the foundational steps. This guide goes deeper, walking through each research layer in sequence so you can commit to a destination with confidence.
Step 1: Define Your Trip Parameters First
Before you research a single destination, get clear on your constraints. Travelers who start with destinations and then try to fit their lives around them frequently run into mismatches that force costly changes later.
The parameters to define upfront include:
- Travel dates and duration: How many days do you have? Are your dates fixed or flexible?
- Budget range: What is your total available spend, not just for flights, but for the entire trip?
- Travel party: Solo, couple, family with children, group? Each changes what a destination needs to offer.
- Trip purpose: Rest, adventure, cultural immersion, a specific event? This filters destinations quickly.
- Physical and accessibility requirements: Terrain, climate tolerance, medical needs, and mobility considerations all narrow the field.
Once these are documented, use them as filters - not preferences. A destination that looks beautiful but falls outside your budget or requires a visa your timeline can't accommodate is not a realistic option, regardless of appeal. Our guide on building a destination shortlist offers practical methods for applying these filters to generate a manageable list of candidates.
Write Your Parameters Down
Documenting your trip parameters in a shared document or spreadsheet - rather than keeping them in your head - makes it much easier to evaluate destinations consistently. When a destination looks attractive but doesn't fit a written constraint, it's far easier to set it aside and move on without second-guessing yourself.
Step 2: Assess Safety, Entry Requirements, and Health Logistics
Safety and entry research should happen early - these are non-negotiable filters that can eliminate a destination before you invest further research time.
Travel advisories: The U.S. Department of State publishes destination-level advisories on a four-level scale (Level 1: Exercise Normal Precautions through Level 4: Do Not Travel). Check the official State Department website directly; do not rely on third-party summaries that may be outdated.
Visa and entry requirements: Some destinations require US citizens to obtain a visa in advance, pay an entry fee, or show proof of onward travel. Processing times vary and can take weeks. Always verify current requirements directly with the destination country's official consulate or embassy website, and cross-reference with the State Department's entry requirements page. Requirements change - what was true six months ago may not apply now.
Health requirements: Some destinations require proof of vaccination for certain diseases. Others have regional health risks (malaria, dengue, altitude sickness) that travelers should prepare for. Consult the CDC's travel health page and discuss destination-specific health considerations with a qualified healthcare provider well in advance of your trip. This is general guidance - individual medical decisions require professional consultation.
For a structured checklist covering all of these areas, see our destination research checklist.
Official Sources Only for Visa and Safety Data
For visa requirements, entry rules, and travel advisories, use only official government sources: the U.S. Department of State travel website (travel.state.gov) and the destination country's consulate or embassy. Third-party travel sites may publish outdated or incomplete information. For health requirements and recommendations, the CDC's travel health notices are the appropriate reference - and individual health decisions should be made with a qualified healthcare provider.
Step 3: Evaluate Costs Across All Budget Categories
A realistic cost picture requires looking beyond the headline price of flights and accommodation. Travelers who estimate only those two line items routinely underestimate total trip cost by 30-50%, depending on the destination.
Build a budget estimate that includes:
- Transportation: Flights, ground transfers, local transit, car rental if applicable
- Accommodation: Nightly cost multiplied by trip duration, including taxes and fees
- Food and drink: Research typical restaurant price ranges for your destination, not just tourist-area prices
- Activities and entry fees: Museums, tours, national parks, and guided experiences add up quickly
- Visa and entry fees: Some destinations charge $50-$100 or more per person
- Travel insurance: A necessary line item, not optional - understand what medical evacuation coverage costs for your destination
- Currency exchange and fees: Factor in ATM fees, foreign transaction fees, and exchange rate fluctuation
For deeper guidance on structuring your full travel budget, see the Travel Budgeting hub.
When estimating daily food costs, find a local expat or long-term traveler forum for your destination and look at what residents - not tourists - actually spend. Tourist-area pricing can be two to three times higher than what's available a few blocks away.
Guidebook and travel blog budget estimates often reflect a tourist experience and overstate or understate costs depending on the traveler's actual habits and neighborhood choices.
Build a 15-20% contingency buffer into your total budget estimate before finalizing your destination choice - not after you've already committed.
Unexpected costs (medical care, rebooking fees, weather-related itinerary changes, currency fluctuation) are common on international travel. A buffer built in at the research stage prevents a destination from being financially stressful to visit.
Step 4: Research Culture, Access, and On-the-Ground Logistics
Cultural research is often treated as optional enrichment, but it's practically useful. Understanding local customs - dress codes at religious sites, tipping norms, rules around photography, and expected social behaviors - helps travelers avoid inadvertent disrespect and navigate interactions more smoothly.
Key logistical areas to research include:
- Language: Is English widely spoken, or will you need translation tools or basic phrases?
- Payment infrastructure: Are cards widely accepted, or is cash essential? What currency is used?
- Transportation within the destination: Is public transit reliable? Is renting a vehicle practical or necessary?
- Connectivity: Will your US phone plan work, or do you need a local SIM or international plan?
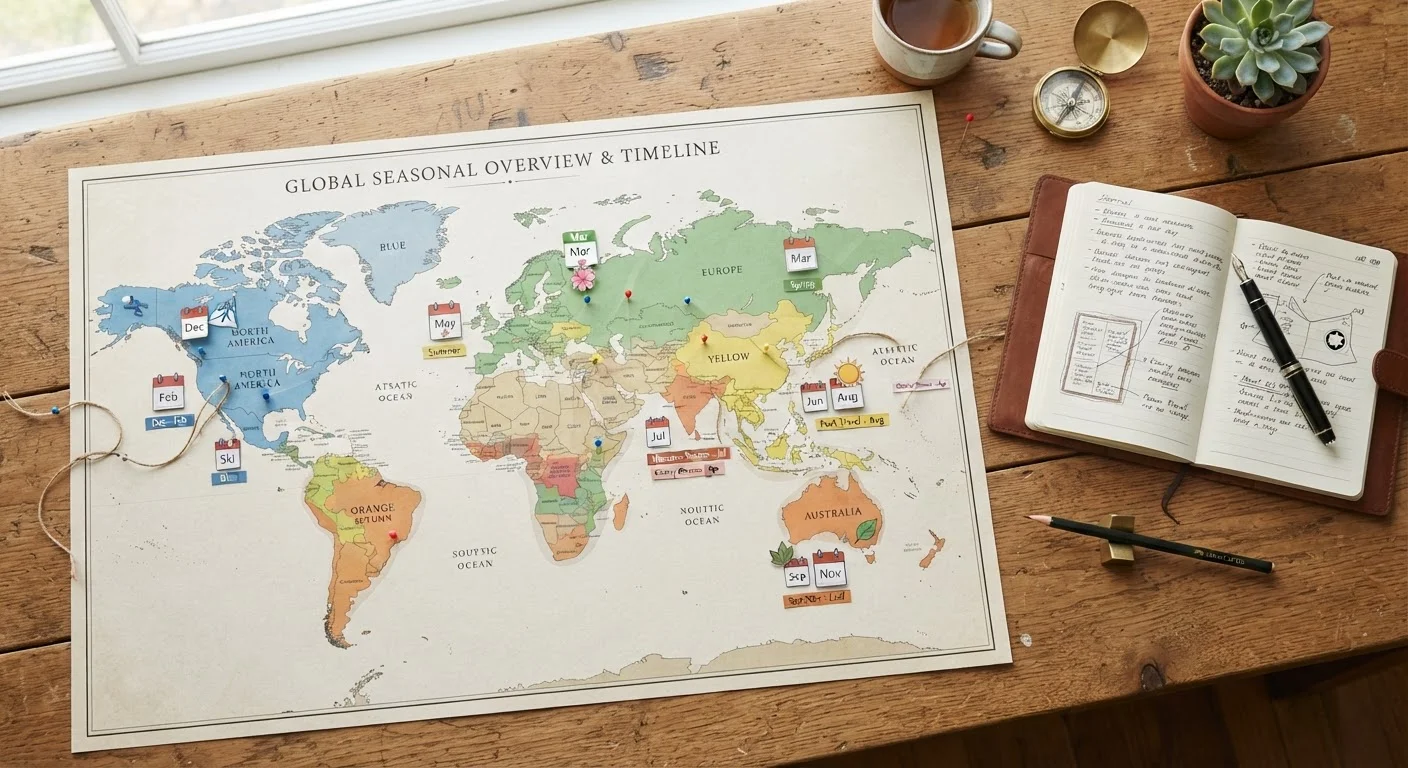
- Seasonal considerations: Research peak vs. shoulder vs. off-season conditions - not just price, but weather, crowd levels, and which activities or sites are actually accessible during your travel window.
Our companion article on evaluating destination anatomy breaks down each of these factors in detail.
Step 5: Compare Shortlisted Destinations Fairly
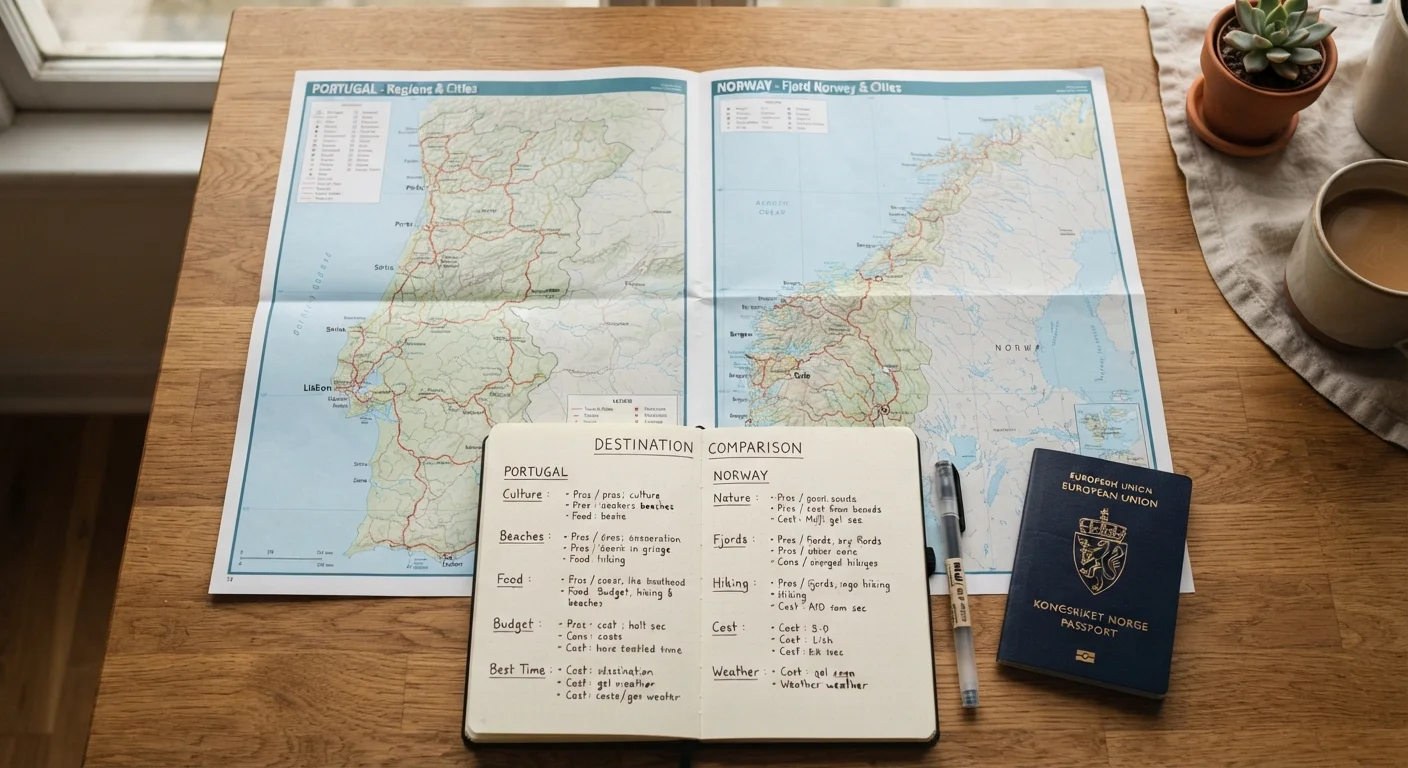
Once you've run multiple destinations through the research framework, you need a consistent method to compare them. Gut feeling alone tends to favor whichever destination you researched last or saw most recently - a bias that structured comparison corrects.
A simple scoring matrix works well. List your top three to five destinations in rows and your weighted criteria in columns: budget fit, safety level, ease of entry, climate match, cultural interest, logistical complexity. Score each destination against each criterion on a 1-5 scale, then weight the scores by how much each factor matters to your specific trip. The resulting totals give you a defensible ranking rather than an impression.
This method also surfaces trade-offs clearly. A destination may score high on cultural interest but low on budget fit - and the matrix makes that tension visible rather than letting it hide behind enthusiasm.
4 levels
U.S. State Department travel advisory scale
The State Department rates every destination from Level 1 (Exercise Normal Precautions) to Level 4 (Do Not Travel), updated continuously based on conditions.
30+ days
Typical advance time needed for visa processing
Many visa applications require four to eight weeks for processing; some destinations offer expedited options at additional cost, while others require in-person appointments.
Final Verification Before You Commit
Research done two months before booking can go stale. Visa rules change, travel advisories are updated, and airline routes open or close. Build in a final verification pass within 30 days of booking - or immediately before purchasing non-refundable tickets.
The final checklist should confirm: current travel advisory level, visa and entry requirements (including processing times), any active health advisories, your travel insurance coverage scope, and accommodation cancellation policies.
Once verification is complete and you're ready to move into logistics, our complete trip logistics framework covers everything from setting final dates to confirming pre-departure details. For key terms you'll encounter throughout destination research materials, our destination research glossary provides plain-language definitions.
This article provides general travel planning information for educational purposes only. Entry requirements, health recommendations, and safety conditions change frequently - always verify current information through official government and healthcare sources before making travel decisions.