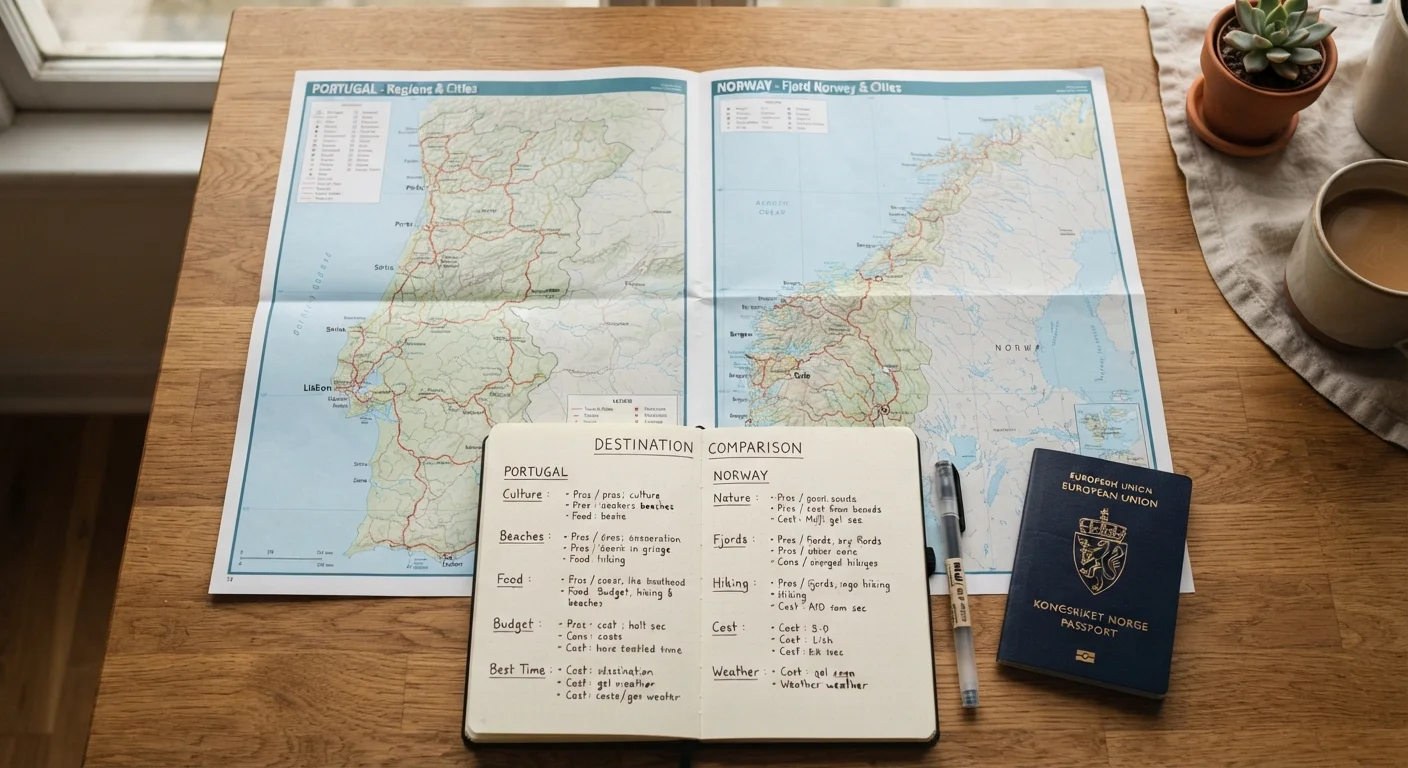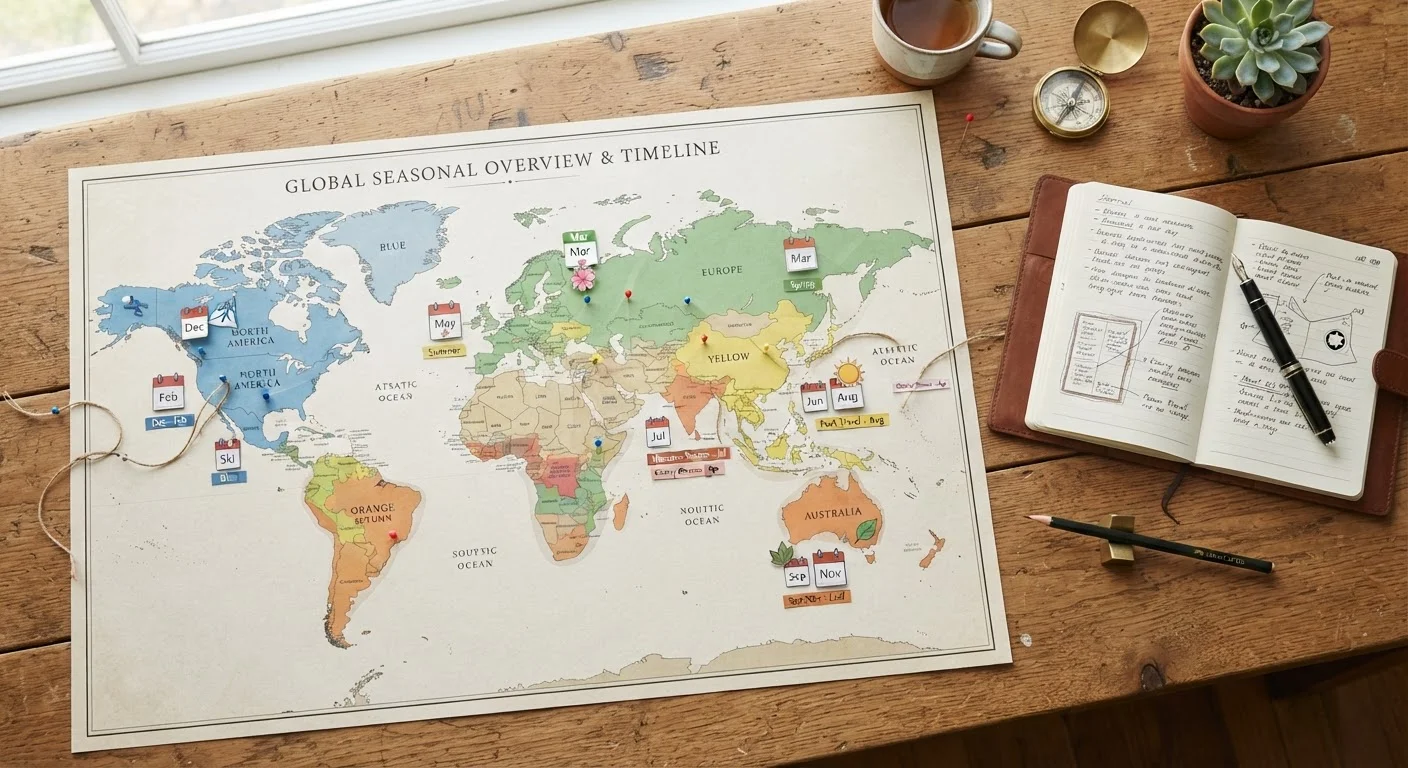

Why 'Everywhere' Is the Hardest Place to Start
Open-ended destination research - scrolling through travel sites, saving posts, asking friends - produces inspiration but rarely produces decisions. The problem is structural: without defined criteria, every new destination looks appealing, and the list expands rather than narrows. The result is decision fatigue before any real planning begins.
A shortlisting process solves this by separating two tasks that travelers typically mix together: generating options and evaluating them. Doing both at once means you never fully commit to either. The steps in this guide treat them as distinct phases, which makes the whole process faster and more reliable.
What you will need
Before you begin, gather your tools.
Spreadsheet or comparison table
Track and score each destination candidate against your defined criteria in one place.
Official government travel advisory portal (e.g., travel.state.gov for US citizens)
Verify current safety advisories and entry requirements for each destination under consideration.
Currency converter
Quickly estimate relative cost of living at each destination to compare purchasing power.
Climate or weather data resource
Check typical weather conditions at each destination during your planned travel window.
The Shortlisting Process: Step by Step
Follow these steps in order. Each one reduces your candidate pool and increases the quality of what remains. Skipping steps - particularly the elimination filters - tends to leave destinations on your list that will waste research time later.
Write down your non-negotiables
Before you look at a single destination, list the conditions your trip must meet. These typically fall into four categories: time (how many days you have), budget (total spend or daily spend ceiling), purpose (rest, adventure, culture, family milestones), and group requirements (mobility needs, age range, dietary considerations).
Keep this list visible throughout the process. Any destination that cannot plausibly satisfy every non-negotiable is eliminated immediately - before you invest research time in it.
Generate a wide candidate list without judgment
Spend 10-15 minutes writing down every destination that has interested anyone in your travel group, without filtering. Include places from social media, past conversations, bucket lists, and travel articles. Aim for 15-25 candidates. The goal here is breadth - editing comes later.
If your list is shorter than 10, use a region-based prompt: name one place per continent, or one place per type of experience (beach, city, mountains, historical sites).
Apply your three fastest elimination filters
Run your full candidate list through these three filters in order, crossing off any destination that fails:
- Budget feasibility: Is a realistic trip to this destination possible within your stated budget, including flights, accommodation, meals, and activities? A rough estimate is sufficient here.
- Seasonal fit: Does your travel window align with acceptable weather and manageable crowd levels at this destination? Avoid peak hurricane season, monsoon periods, or extreme heat if those are genuine deterrents for your group.
- Logistical accessibility: Can your group realistically get there - considering flight connections, travel time, and any visa or entry requirements - within your available time?
Most candidate lists shrink by 50-70% after this step, which is exactly the point.
Score remaining candidates against your priorities
Take what remains - ideally 5-10 destinations - and build a simple scoring table. List your top five priorities as column headers (examples: cost level, cultural richness, outdoor activities, safety rating, travel time from home). Score each destination from 1-5 on each criterion.
Weight the columns if some priorities matter more than others. A family prioritizing safety and short travel time should weight those columns more heavily than, say, nightlife or cuisine variety.
Total each row. The destinations with the highest totals form your shortlist. Aim for three to five finalists.
Pressure-test each shortlisted destination
For each of your three to five finalists, spend 15-20 minutes doing focused research on the specific concerns that could disqualify it: current travel advisories, realistic accommodation costs during your travel window, and any health or vaccination recommendations from official sources.
Also consider your transportation options for getting there - distance and cost of travel between destinations can shift your comparison significantly. Our guide to choosing between flying, driving, and taking the train walks through how to evaluate that decision for each candidate.
Confirm your shortlist and assign research owners
Once pressure-testing is complete, confirm your shortlist of three to five destinations. If you are traveling with others, assign each person one destination to research in depth before your group decision meeting. If traveling solo, schedule separate research sessions for each finalist to avoid blending information between destinations.
At this stage, your shortlist should feel genuinely manageable - each destination on it is plausibly within budget, fits your season, meets your group's needs, and has no obvious disqualifying issues. That is the goal: not a single answer yet, but a set of real, comparable options.
Keep Your Shortlist Visible
Print or pin your shortlist somewhere you will see it daily during the research phase. Destinations you are not actively researching tend to accumulate appeal simply because they remain abstract. Keeping your finalists front of mind helps you apply the same scrutiny to each one rather than defaulting to whichever you happened to research most recently.
Common Shortlisting Mistakes and How to Avoid Them
Even with a clear process, a few patterns consistently derail destination shortlists:
- Anchoring on a single destination too early. If one place dominates your thinking before the scoring step, the process becomes rationalization rather than evaluation. Include it in the candidate list and let it earn its place.
- Ignoring the travel-time cost. A destination that requires 20+ hours of transit each way consumes a significant share of a 10-day trip. Factor total travel time - not just airfare - into your feasibility filter.
- Conflating 'dream destination' with 'right destination for this trip.' A place that suits a solo adventure at 25 may not suit a family trip with young children. Evaluate destinations against the specific trip you are planning, not an idealized version of travel.
- Treating online pricing as final. Prices shown in early research are indicative, not guaranteed. Build a buffer of at least 15-20% into any cost estimate at the shortlisting stage.
Entry Requirements Can Change Quickly
Visa policies, health documentation requirements, and border restrictions can change with little notice. A destination that was entry-free when you started researching may require a visa by the time you book. Always verify current requirements directly with the destination country's official government or embassy website and with your own government's travel advisory portal before making any bookings.