Why a Generic Lawn Schedule Often Falls Short
Packaged lawn care programs and calendar guides sold nationally are designed for an average homeowner in an average climate - a place that doesn't quite exist. The result is that millions of homeowners apply fertilizer too early, overseed at the wrong time, or aerate when it provides little benefit, all because they followed advice calibrated for someone else's yard.
The variables that actually drive lawn health are local: your grass species, your region's temperature swings, your soil's structure and pH, and how much rainfall your area realistically receives. Building your own calendar - even a simple one - means those variables get accounted for from the start.
One Schedule Does Not Fit All Regions
A fertilization or overseeding date that works in Georgia may damage a lawn in Minnesota. Always anchor your calendar to your local frost dates and grass type - not generic national timelines. Check your county's cooperative extension service for region-specific guidance.
This guide walks you through that process in five steps, from identifying your grass type to building in annual review. The goal isn't a perfect schedule; it's a realistic one you'll actually follow.
What you will need
Tools and Resources You'll Need
You don't need much to build an effective lawn care calendar, but a few key resources make the process more accurate and the results more durable.
Soil test kit or lab service
Confirms pH and nutrient levels so amendments are targeted, not guesswork.
12-month wall or digital calendar
Used to map lawn tasks across the year at a glance.
Local frost date reference
Anchors timing for seeding, fertilizing, and dormancy preparation.
Rain gauge
Tracks actual precipitation so irrigation and care schedules reflect real conditions.
These resources don't require significant expense. Many county cooperative extension offices offer free soil testing or low-cost kits, and frost date lookups are available at no cost through the National Oceanic and Atmospheric Administration (NOAA) and university extension websites.
Step-by-Step: Building Your Calendar
Follow these steps in order. Each one builds on the last, so resist the urge to skip ahead to scheduling specific tasks before the foundational information is in place.
Identify Your Grass Type and Climate Region
Before writing a single date on your calendar, you need two pieces of information: your grass type and your climate region. Cool-season grasses - such as Kentucky bluegrass, perennial ryegrass, and tall fescue - thrive in northern and transitional zones where summers are mild and growth peaks in spring and fall. Warm-season grasses - Bermuda, zoysia, St. Augustine, and centipede - are dominant in the South and grow most actively when soil temperatures exceed 65°F.
Your USDA hardiness zone is a useful starting point, but local microclimates matter too. Elevation, proximity to large bodies of water, and urban heat islands can all shift your effective growing season. If you're establishing turf for the first time, our guide on choosing between grass seed and sod covers how grass type affects that decision as well.
Pull Your Local Frost Dates and Map Growing Seasons
Your last spring frost date and first fall frost date define the boundaries of your active growing season. For cool-season lawns, the primary growth windows bracket these dates - vigorous growth in early spring before heat arrives, and a second flush in early fall once temperatures drop. For warm-season lawns, active growth runs from after the last frost through early fall, with full dormancy in winter.
On your calendar, mark these four anchors: last spring frost, midsummer, first fall frost, and midwinter. These become the structural pillars around which all other tasks are scheduled.
Test Your Soil Before Scheduling Amendments
Soil conditions - particularly pH and nutrient levels - determine whether your fertilizing and liming schedule will actually work. Most lawn grasses prefer a soil pH between 6.0 and 7.0. Outside that range, nutrients can become unavailable to roots regardless of how much fertilizer you apply. A basic soil test, available through your cooperative extension office or garden center, gives you a baseline to work from.
Schedule your soil test in late summer or early fall, when results can inform fall amendments and the following spring's plan. For a deeper look at how pH affects grass health, see our article on soil pH and nutrient uptake.
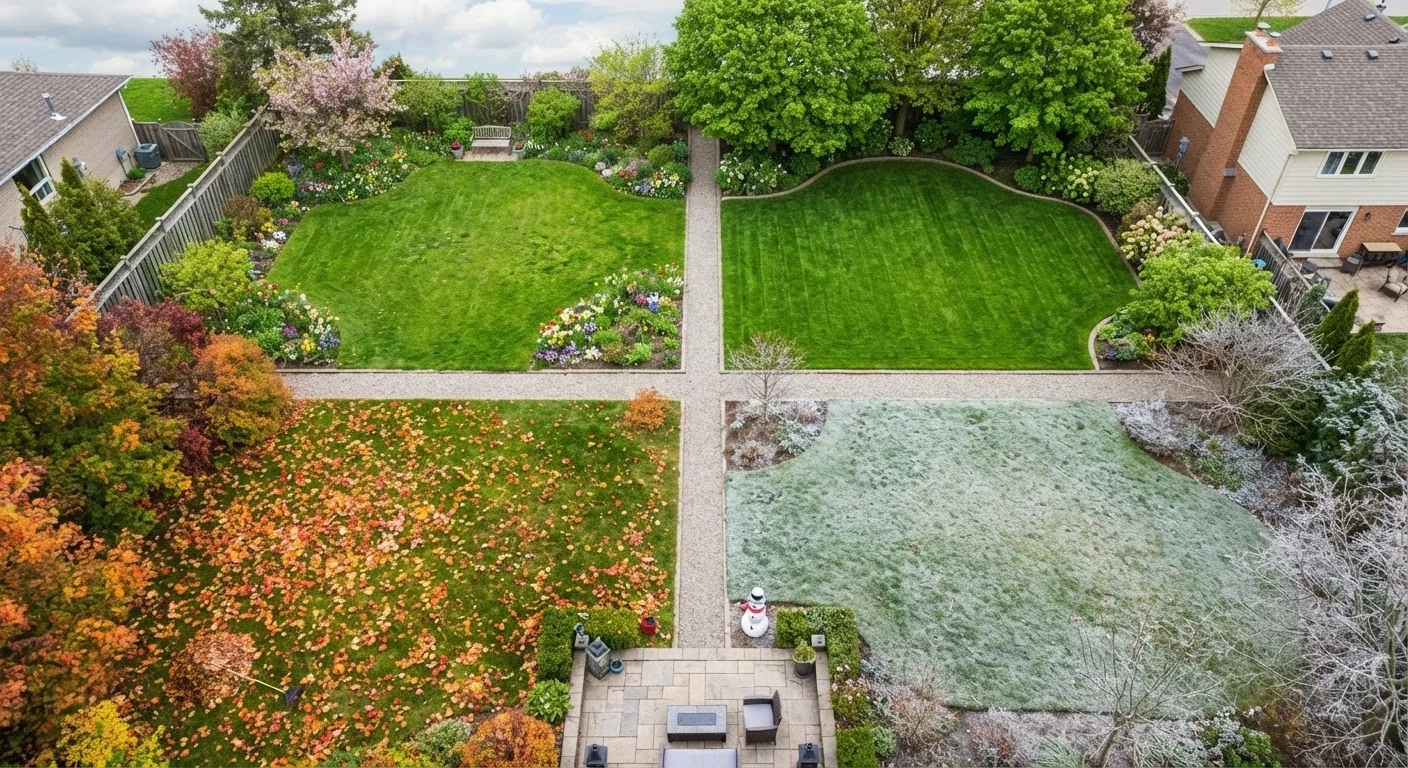
Assign Core Tasks to Each Season
With your grass type, frost dates, and soil data in hand, populate your calendar season by season:
- Spring: Dethatch if needed, apply pre-emergent weed control before soil reaches 55°F, begin mowing as growth resumes, apply starter or balanced fertilizer (cool-season lawns only in spring). For a structured spring approach, see our spring yard cleanup checklist.
- Summer: Raise mowing height to reduce heat stress, water deeply and infrequently, scout for pests and disease. Warm-season lawns can receive fertilizer through midsummer.
- Fall: Core aerate compacted areas, overseed cool-season lawns, apply fall fertilizer for root development, address broadleaf weeds. Learn more about when aeration is actually needed before scheduling it annually.
- Winter: Service equipment, review soil test results, plan amendments and seed purchases for spring.
Build In Flexibility and Review Annually
A lawn care calendar is a living document, not a fixed contract. Weather variation - a late frost, an unusually wet summer, drought - will push tasks forward or back. Build buffer windows of one to two weeks around each scheduled task so you can respond to actual conditions rather than arbitrary dates.
At the end of each season, spend ten minutes annotating your calendar: note what you skipped, what worked, and what the lawn looked like. This record becomes increasingly valuable year over year. Many common lawn frustrations stem from habits based on misconceptions rather than evidence - our article on lawn myths that waste time and water is worth reviewing as you refine your plan.
Use Your Lawn as a Feedback Loop
After each season, note what worked and what didn't directly on your calendar. Over two or three years, these notes become a personalized record far more useful than any generic guide. Small adjustments - shifting an aeration date by two weeks, skipping a fertilizer pass during a dry spell - add up to noticeably healthier turf.
Avoid Fertilizing During Heat or Drought Stress
Applying nitrogen fertilizer when grass is heat-stressed or drought-stressed can burn turf and worsen the problem. Confirm your grass is actively growing before any fertilizer application, and always follow product label directions for rates and timing.
Keeping Your Calendar Accurate Over Time
The most effective lawn care calendars aren't the most detailed - they're the ones homeowners return to and update. A schedule that accounts for a late spring or an unusually dry August will outperform any rigid program. Treat your calendar as a hypothesis you test each season and refine based on what your lawn tells you.
If you maintain other seasonal home routines, you may find it useful to coordinate your lawn calendar alongside a broader seasonal home maintenance checklist so outdoor and indoor tasks are managed together without overlap or missed windows.