Why Pattern Choice Is a Practical Decision, Not Just an Aesthetic One
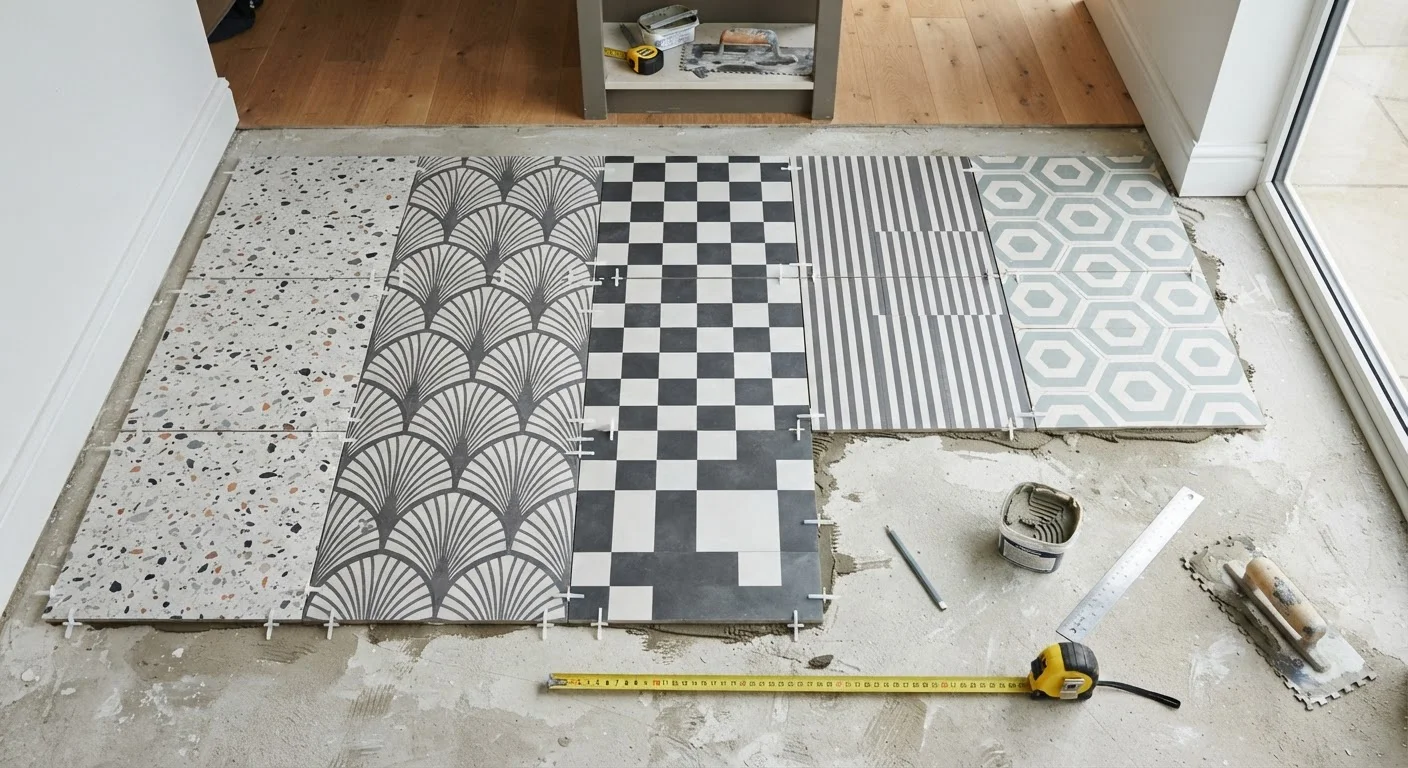
Tile layout patterns are often treated as a purely visual choice - pick what looks good in the showroom and move on. In practice, the pattern you select shapes your material budget, your installer's labor hours, and the long-term livability of the space. A herringbone backsplash that appears straightforward in a catalog involves far more cuts and alignment work than a standard brick offset. Understanding those implications before ordering tile can prevent budget surprises and timeline delays.
This overview covers the most common tile layout patterns used in kitchens and bathrooms, explaining what each one involves structurally and when it works best. For context on how tiling fits into the larger sequence of a bathroom project, see our bathroom remodel sequencing guide.
Account for Pattern Waste Before Ordering
Before finalizing your tile order, ask your installer for a waste estimate specific to your chosen pattern and room dimensions - not just a general percentage. Rooms with many corners, niches, or irregular walls will generate more cut pieces regardless of pattern. Ordering at least one extra box beyond the estimate is a practical buffer, since tile from the same production run matches in color and texture far better than tiles ordered later.
Common Tile Layout Patterns and What They Mean in Practice
Straight Grid (Stacked)
In a straight grid layout, tiles align both horizontally and vertically, with seams running in continuous straight lines. It is the most straightforward pattern to install and generates the least waste - typically 5-10% overage is sufficient for cuts and breakage.
This pattern works well in smaller rooms where a clean, minimal look is appropriate, and it is forgiving on subfloors that are not perfectly level. The visual effect is orderly and tends to recede rather than dominate a space. One practical drawback: continuous grout lines that run corner to corner make any subfloor imperfection - or tile lippage - more visible.
Straight grid generates the least waste and is the most forgiving pattern for standard installations.
Brick Offset (Running Bond)
Running bond offsets each row by half a tile length, creating the familiar staggered pattern used in brick walls. It is one of the most popular layouts for both floors and backsplashes because it is nearly as easy to install as a straight grid while adding visual interest.
A common specification issue: for tiles with a length-to-width ratio greater than 2:1 (such as a 4×12 subway tile), some tile manufacturers advise against a full 50% offset because it can emphasize the slight warping present in most fired tiles, creating a visible lippage line. A one-third offset is often recommended for elongated tiles as a result.
For elongated tiles, a one-third offset often performs better than the standard half-offset.
Diagonal (45-Degree)
Diagonal layouts rotate tiles 45 degrees relative to the room's walls, so the corners of each tile point toward the walls rather than lying parallel to them. The effect is classic and can make a square room feel larger by drawing the eye across the diagonal axis.
The trade-off is significant waste. Because every tile along the perimeter must be cut at an angle, diagonal installations typically require 15-20% overage - sometimes more in rooms with many corners or irregular shapes. Installer time increases proportionally. This pattern also demands a very flat subfloor, since any height variation is more visible across diagonal lines.
Diagonal layouts commonly require 15-20% extra tile to account for angled perimeter cuts.
Herringbone
Herringbone arranges rectangular tiles in a V-shaped zigzag pattern. It has become a popular choice for kitchen backsplashes and bathroom floors because it introduces strong directional texture without requiring multiple tile sizes or colors.
Installation is considerably more demanding than running bond. Each tile must be set at a precise angle, alignment must be checked frequently, and the cut pieces at the edges are small and numerous. Labor costs for herringbone are typically higher than for grid or offset patterns, and waste runs 10-15% above a straight layout. The visual payoff can be strong, but it is worth confirming with your installer that they have experience with this specific pattern before committing.
Herringbone's directional texture is striking, but it demands experienced installation and generates notable waste.
Versailles (French Pattern)
The Versailles pattern - also called French pattern - combines four different tile sizes in a repeating arrangement that mimics the look of aged stone courtyards. It works particularly well with natural stone or stone-look porcelain tiles and creates an organic, high-end appearance.
Because the pattern relies on precise sizing relationships between tile formats, it is sensitive to tile size variation. Even small dimensional inconsistencies between tile sizes (common in some manufactured tiles) can cause the pattern to drift out of alignment over a large floor. Installers experienced with this layout typically dry-lay sections first and use consistent spacers for each size pairing. Waste and labor are both higher than simpler patterns - plan for 15% overage at minimum.
Versailles patterns require dimensionally consistent tiles; size variation between formats causes alignment problems.
Pinwheel (Hopscotch)
The pinwheel pattern pairs one larger square tile with four smaller square tiles arranged around its corners, creating a repeating pinwheel or windmill visual. It is less commonly used today but well-suited to vintage-style bathrooms or spaces where a playful, geometric look fits the design intent.
Installation requires careful attention to maintaining consistent spacing between the two tile sizes, which must have a precise size relationship to fit cleanly. Mixing tile types (say, a ceramic center with a porcelain border) introduces the risk of different thicknesses, requiring back-buttering or adjustments to maintain a level surface. Discuss this specifically with your installer when planning material orders.
Pinwheel patterns depend on a precise size relationship between tile formats - verify this before ordering.
Grout Joint Width Affects More Than Appearance
The width of grout joints is a functional specification, not purely decorative. Wider joints (3/16 inch or more) accommodate slight size variation between tiles and are often required for handmade or natural stone tiles. Narrower joints (1/16 to 1/8 inch) produce a cleaner look but demand more dimensionally consistent tiles and more precise installation. Wider grout joints also mean more grout surface to clean and maintain over time - relevant in kitchens where grease and moisture are ongoing factors.
Making the Right Choice for Your Space
The most practical pattern is the one that fits your tile size, room dimensions, and installer's capabilities - not simply the one that photographs well. Larger-format tiles (those 18 inches or wider) typically work best in straight or stacked layouts, since diagonal cuts on big slabs generate considerable waste and demand precise subfloor flatness. Smaller mosaic tiles lend themselves to more intricate arrangements, partly because individual piece cost is lower and cuts are less consequential.
Room proportion matters too. A heavily directional pattern like herringbone can make a narrow galley kitchen feel longer or shorter depending on its orientation. A random or varied-size pattern can camouflage an irregular floor shape. If you are planning a full kitchen renovation, tile decisions connect to cabinet placement, island positioning, and overall flow - topics covered in our kitchen renovation breakdown. Discuss pattern options with your tile installer before finalizing material quantities, since waste estimates vary meaningfully by layout complexity.