Why Drywall Patches Often Look Wrong
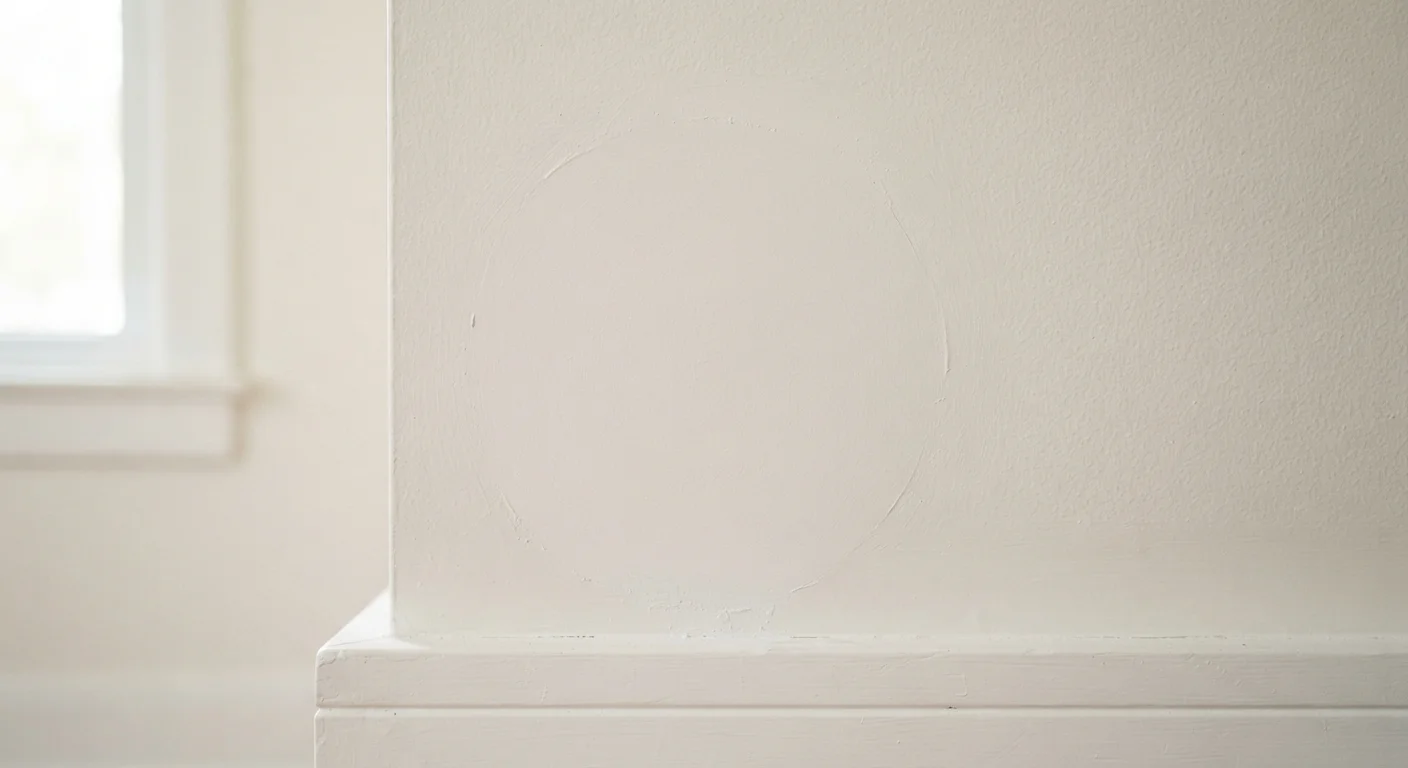
A patched wall that stands out after painting is one of the most common frustrations in home repair. The patch itself may be structurally sound, but visual differences in sheen, texture, or color make it obvious. Understanding the three main culprits - surface porosity, texture mismatch, and insufficient priming - helps you avoid them before they happen.
Raw joint compound is highly porous. When paint is applied directly over it without a primer, the compound absorbs moisture from the paint unevenly. This creates a dull, flat spot surrounded by the slightly shinier original wall surface - a phenomenon called ghosting. The patch essentially telegraphs itself through the finish coat.
Texture mismatch is the second common issue. Most walls aren't perfectly smooth; they carry some form of applied texture, whether a light orange peel, knockdown, or hand-troweled finish. Applying flat joint compound and painting over it without recreating that texture leaves a visibly different surface zone.
Check Your Work Under Raking Light
Before priming or painting, hold a flashlight or work light nearly parallel to the repaired wall surface in a darkened room. This raking light technique reveals texture inconsistencies, compound ridges, and feathering flaws that are invisible under standard overhead lighting. Catching these issues before paint saves significant rework time.
Taking your time through the preparation and priming stages saves far more time and effort than trying to correct a visible patch after the final coat of paint is already on the wall.
What You'll Need Before You Start
Gathering the right materials before starting prevents mid-project delays and helps you maintain wet edges on compound - critical for clean blending. The specific tools needed will vary slightly depending on the size and nature of your repair.
What you will need
All-purpose joint compound (pre-mixed)
Used to fill, skim, and feather the patch area across multiple coats.
6-inch and 10-inch drywall knives
Smaller knife applies compound into the patch; wider knife feathers edges outward.
Drywall primer (PVA or shellac-based)
Seals the porous compound surface and prevents ghosting under finish paint.
Fine-grit sanding sponge or 120-150 grit sandpaper
Smooths each dried compound coat and removes ridges before the next application.
Texture spray can or hopper gun
Recreates orange peel or light splatter texture to match surrounding wall surface.
Tack cloth or damp rag
Removes sanding dust from the surface before priming or painting.
Small foam roller and brush
Applies primer and finish paint evenly over the patch and blended edges.
Step-by-Step: From Damaged Wall to Seamless Finish
Follow these steps in order. Each phase - repair, compound, texture, prime, paint - builds on the one before it. Skipping or rushing any stage is the most common reason patches remain visible.
Clean and Stabilize the Repair Area
Before applying any compound, ensure the patch or underlying repair is clean, dust-free, and structurally solid. Press along the edges of any existing repair mesh or drywall backing to confirm nothing flexes. Remove loose paper facing, crumbling compound, or debris with a putty knife. Wipe the area with a slightly damp rag and allow it to dry completely.
Apply the First (Filling) Coat of Joint Compound
Load your 6-inch knife with pre-mixed joint compound and fill the patch area completely. Work compound firmly into any mesh tape or gap, then draw the knife across to level it roughly with the surrounding wall. Don't worry about perfection here - this coat fills voids, not blends. Allow this coat to dry fully (typically several hours; do not rush with a heat gun, which can cause cracking).
Sand, Then Apply a Feathering Coat
Once the first coat is fully dry, sand lightly with 120-grit paper to knock down ridges. Wipe away dust with a tack cloth. Switch to your 10-inch knife for the second coat. Apply a thinner layer of compound, this time extending it 3-4 inches beyond the patch edges on all sides. Draw the knife at a low angle so the compound tapers gradually - this is called feathering, and it eliminates the visible edge between patch and wall.
Final Sand and Surface Inspection
After the feathering coat dries completely, sand with a fine 150-grit sponge using light, circular strokes. Blend the compound edges until no ridge is detectable by touch. Use a raking sidelight to identify any remaining high or low spots. A third skim coat may be needed in larger repairs - apply it the same way, extending the feather zone further if necessary.
Prime the Patched Area
This step prevents ghosting and is non-negotiable. Apply a drywall-specific primer (PVA or shellac-based) using a foam roller over the entire patched and feathered area. Roll slightly beyond the sanded zone to ensure full sealing. Allow primer to dry per manufacturer guidance before touching the surface or applying texture.
Match and Apply Wall Texture
Examine your existing wall surface under a raking sidelight to identify the texture type. Light orange peel (fine, random dimples) can typically be recreated with a texture spray can held 18-24 inches from the wall. Heavier knockdown texture requires a hopper or hand-troweling compound and then partial smoothing before it fully dries. Apply texture in light passes and allow it to set before evaluating the match. Texture is applied before your finish paint, not after.
Paint the Patch and Blend into the Wall
Apply your finish paint using the same application method used on the original wall (roller for large areas, brush for edges). Use paint that matches both the color and sheen level of the existing wall - matte, eggshell, and satin finishes all reflect light differently and will read as a visible patch if mismatched. Roll slightly beyond the textured repair zone to blend the sheen. A second finish coat is often needed to achieve full opacity and a seamless match.
Once your final paint coat is dry, inspect the repair under both overhead lighting and a raking sidelight (a flashlight held nearly parallel to the wall surface). Raking light is unforgiving and will reveal any remaining texture inconsistency or compound buildup at the feathered edges. Minor imperfections at this stage can often be lightly sanded and touched up with a final dab of paint.
Priming Is Not Optional - Ever
Applying finish paint directly over raw joint compound is the single most common cause of a visible patch. Even if the compound appears sealed or hard to the touch, its porosity will cause paint to absorb unevenly, producing a dull spot (ghost) that remains visible through multiple additional coats. A proper drywall primer applied before any finish coat is the only reliable solution.