Why Paperwork Costs Deserve Their Own Budget Category
Most travelers focus their early budgeting on flights, hotels, and daily spending - the visible costs. Government fees, visa charges, and entry taxes tend to get lumped in as afterthoughts or overlooked entirely. That's a planning gap worth closing.
For a single traveler, passport and visa costs might total $100-$300 depending on destination. For a family of four visiting a country that requires advance visas, the same paperwork could represent $400-$800 before the trip even starts. These aren't small rounding errors - they're real budget line items that deserve early attention.
The key budgeting differences between domestic and international travel include exactly this kind of expense: costs that simply don't exist on a domestic trip. Building a dedicated research step into your planning process is the most reliable way to account for them accurately.
Always Verify With Official Government Sources
Passport and visa fees, entry requirements, and processing times change without much public notice. The figures in any article - including this one - can become outdated. Before paying any fee or submitting any application, confirm current requirements directly on travel.state.gov (for US passports) and the official embassy or consulate website of your destination country.
Also worth noting: misconceptions about what's required are common. Our companion article on passport and visa myths for US travelers covers some of the most frequent planning errors.
What you will need
Step-by-Step: Researching and Estimating Your Document Costs
The following steps walk through a systematic approach to identifying every fee associated with your international trip's paperwork requirements. Work through them in order - each step builds on the last.
travel.state.gov
The official US Department of State portal for current passport fees, processing times, and renewal or first-time application instructions.
Destination country's official embassy or consulate website
The authoritative source for visa requirements, application procedures, and entry fee amounts for US citizens visiting that country.
US Department of State Country Information pages
Provides destination-specific entry and exit requirement summaries, including visa exemption status and known departure taxes.
Spreadsheet or budgeting app
Tracks each document fee, associated service costs, and payment deadlines in one place alongside your broader travel budget.
Assess your current passport status
Before researching destination requirements, determine where your passport stands. Key questions to answer:
- Do you have a valid passport? If not, first-time adult applicants pay both an application fee and an acceptance fee - two separate charges.
- When does it expire? Many countries require your passport to be valid for at least six months beyond your travel dates. If you're close to that threshold, renewal costs become part of your paperwork budget.
- Is your name or information current? Legal name changes require a new passport, which carries the same costs as a first-time application in many cases.
Check the current fee schedule on travel.state.gov. Routine processing and expedited processing carry different price points, and there is an additional fee for overnight document return if needed.
Determine whether your destination requires a visa
US citizens travel visa-free or with visa-on-arrival access to a large number of countries, but that list is not universal. To determine your destination's requirement:
- Visit the US Department of State's Country Information page for your destination.
- Check the destination country's official embassy website for the most granular rules - the State Department page is a good starting point, but embassy pages govern application specifics.
- Note the type of visa required: tourist visas, e-visas (electronic visas applied for online), visas on arrival, and multiple-entry visas each carry different fees and procedures.
Some popular destinations that require advance visas from US citizens include India, Russia, China, Vietnam, and several countries in East Africa - though requirements shift over time. Never assume based on prior trips or others' experiences; always verify directly.
Research the actual visa fee and total application cost
Once you've confirmed a visa is required, calculate the full cost of obtaining it - not just the government fee:
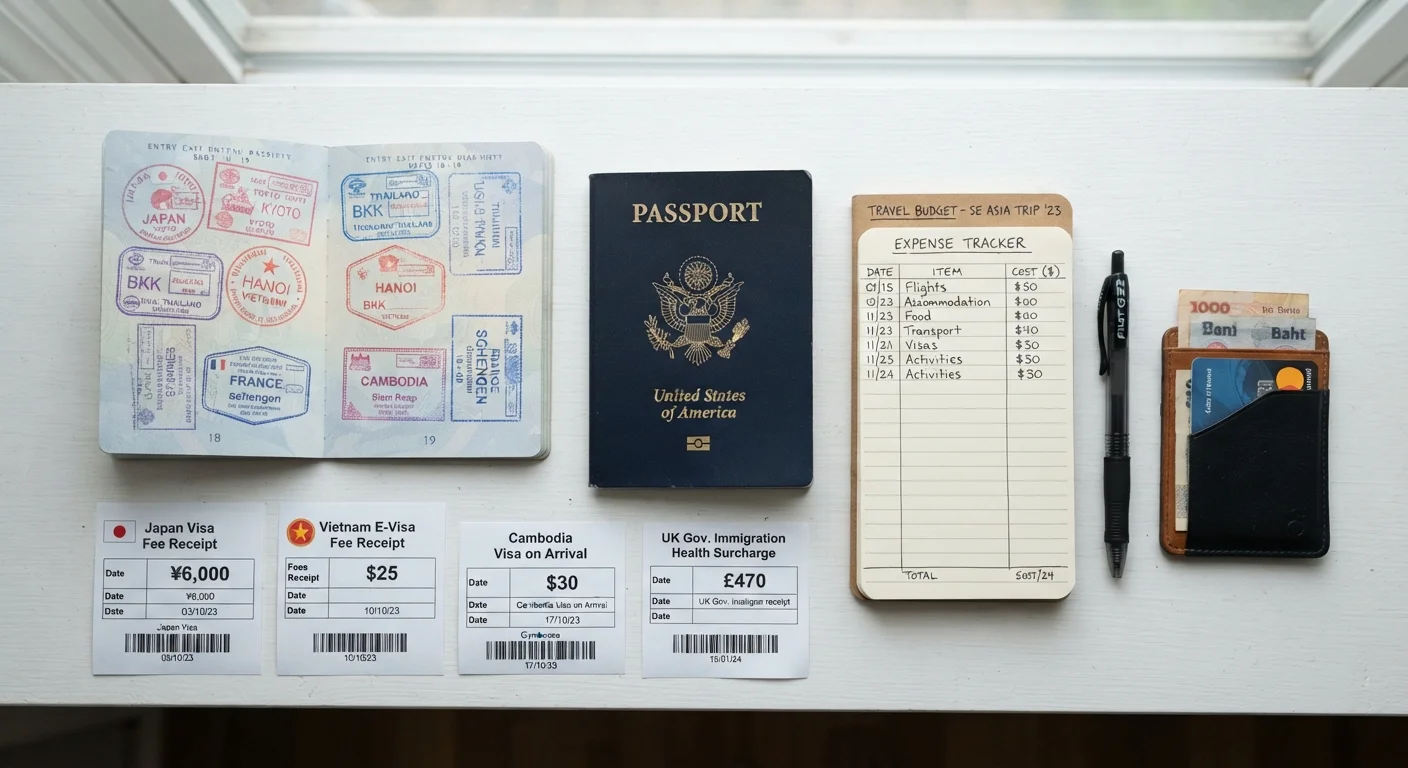
- Government visa fee: Set by the destination country. Ranges from roughly $20 for simple e-visas to over $200 for some multi-entry or lengthy-stay visas.
- Service or processing fee: If applying through an official online portal, this may be a small convenience charge. If using a third-party visa agency, their markup can be substantial.
- Photograph costs: Most visa applications require passport-style photos meeting specific dimensions - typically $10-$20 at a pharmacy or print shop.
- Postage or courier fees: Paper applications that require mailing your physical passport to an embassy will involve tracked, insured mailing both ways.
- Expedited processing fees: If your trip is within 4-6 weeks, standard government processing may not be fast enough. Expedited services at the State Department level (for passports) or through some embassies add cost.
Check for entry, departure, and tourism taxes
Beyond visas, some countries charge fees that aren't part of a visa application and may not appear in your flight ticket:
- Airport departure taxes: Some countries collect a departure tax at the airport. While many are now bundled into ticket prices, some must still be paid in cash at the airport - confirm this for each leg of your itinerary.
- Tourism levies: A growing number of destinations charge a per-night or per-visit tourism tax. Some are collected by your accommodation; others are paid at the border or online before arrival.
- Electronic Travel Authorizations (ETAs): Countries like Canada and the United Kingdom require US travelers to obtain an ETA before boarding - these carry small fees (generally under $15 USD equivalent) but are mandatory and easy to overlook.
These costs are covered in more detail in our guide to hidden travel costs most travelers miss.
Build a paperwork line item in your travel budget
Once you've researched each cost, add a dedicated line item to your travel budget that captures all document-related expenses. A simple structure:
| Cost Category | Estimated Amount | Notes |
|---|---|---|
| Passport application or renewal | $__ | Include acceptance and return fees |
| Visa government fee | $__ | Per person, per destination |
| Visa service/processing fee | $__ | If applicable |
| ETA or e-visa fee | $__ | Per traveler |
| Entry or departure tax | $__ | Note currency required |
| Photos, postage, copies | $__ | Often underestimated |
For group or family trips, multiply per-person fees by the full headcount - these costs scale linearly and can represent a meaningful budget category on their own. See our broader travel cost categories guide for how this fits into your full budget framework.
Build in processing time - and track your deadlines
Budgeting for paperwork isn't only about money - it's also about time. Processing delays can force you into expedited services you hadn't planned to pay for. General guidelines:
- Routine US passport processing times vary and can run several weeks or longer during peak periods. Check the current estimate on travel.state.gov when you begin planning, not when you're about to leave.
- Visa processing timelines vary by country and consulate workload. Some e-visas are approved within 72 hours; some embassy-processed visas take four to six weeks.
- If your travel involves multiple destinations requiring separate visas, applications may need to be submitted sequentially - meaning total lead time can stack up.
Create a simple checklist with each document, its application deadline (working backward from your departure date), and its associated cost. This is the same approach outlined in our pre-trip budget checklist.
Third-Party Visa Services Are Not Official Government Agencies
Many websites advertise visa processing services and charge fees well above the government rate. These are private intermediaries, not official government portals. While some travelers find them useful for guidance, you are often paying a service markup on top of the actual visa fee. Always identify the official government application channel first and compare before using a third-party service.
This article provides general travel budgeting information for educational purposes. Entry requirements, fees, and visa rules change frequently. Always verify current requirements with official government sources - including travel.state.gov and the official embassy or consulate of your destination country - before submitting any application or traveling.